

Creating a site is required to process and visualise your data in SIDEREAL.
The site creation workflow can be accessed from the sites page using the button "Create new site"

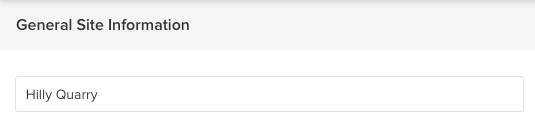
Give your site a name
This name will be used to identify your site throughout the platform and emails to your team
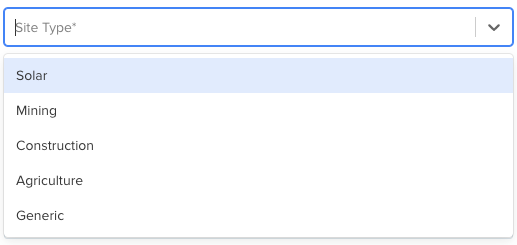
Choose the type of site
Solar, mining, construction, agriculture or generic. We will tailor the tools and settings of the platform based on what type of site you select. Based on this choice, there is an opportunity to tell us more about the site in the next step "Site Specific Information".
(Optional) Fill in the remaining information
Fields such as address, contact person information and instructions on how to access the site) are optional, but can help to localise your site and plan future operations more easily.
Select the default coordinate reference system
If you want to use a specific coordinate reference system on this site, the default can be selected here. You can still update or override this at a later point. The default is WGS 84 (EPSG:4326). Learn more about coordinate reference systems.
Define the rough boundaries of your site
This will help us show your site on the map straight away. These boundaries can still be adjusted later when creating operations.
To mark your site boundaries there are two options, either by uploading a KML file or by drawing them manually:
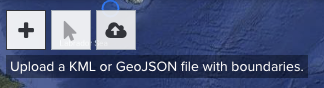
Uploading a KML file
Upload a KML file by clicking on the cloud upload icon in the left top corner of the map view. You will be asked to select a file. Follow this guide if you want to create a KML in Google Earth
Drawing the boundaries
You can start by either searching by location or latitude/longitude in the search bar in the right top corner of the map view. This search field will help you to get to the right location on earth.

Next, click on the map to draw the boundaries of your site. When you have reached the last point from the boundary, double click to close the site boundary.

Would you make any changes to the boundaries, finish the current drawing first by double clicking. Then select the pointer tool from the toolbox in the top left corner of the map view, and click on the polygon

After you have selected the polygon, click on the edit icon in the toolbox
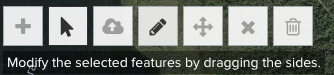
You should now be able to drag existing corner points from the polygon to adjust the boundaries. You can also remove existing corner points using the remove vertex tool.
Provide more detailed site information
Depending on the type of site you selected, you will be able to go to an additional next step by clicking on the next button at the bottom of the page.
In this step, you are able to provide more detailed information regarding the site. Some information is required. This information is used to provide you with more detailed analytics of your site. You can also edit this information later at any time.

(Optional) Set up site overlays
In the next step of the online site creation wizard, you can add site overlays directly. You can also do this later. Follow this guide on how to add overlays to your site.